10/27/14, by Megan Steenson
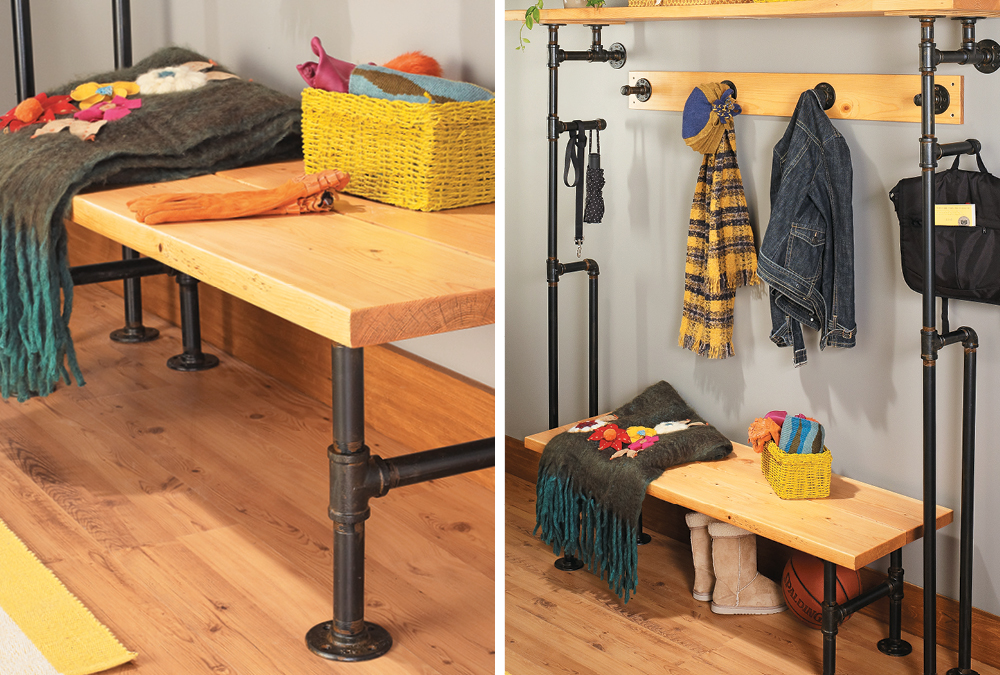
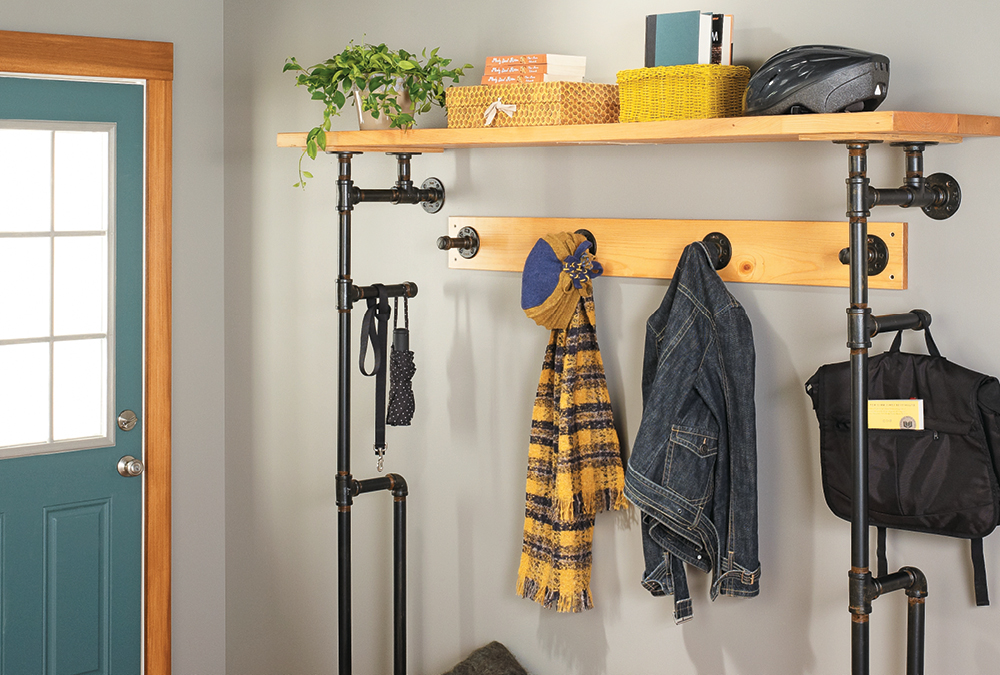
You can find pipes and pipe fittings in any home center and now we've got two simple and stylish projects that take advantage of these readily available materials.
add to my favorites10/24/14, by Becky Cunningham
This mudroom storage shelf gets its unique and customizable style from unlikely materials: ordinary plumbing pipes and fittings.
add to my favorites10/22/14, by Megan Steenson
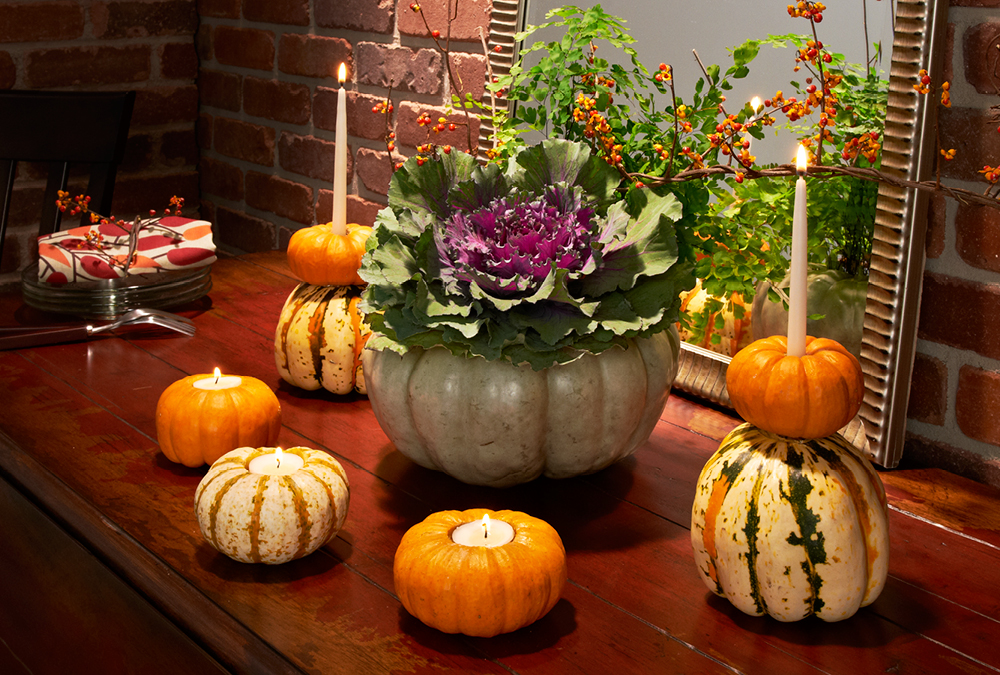
Decorate your harvest table with these simple candle votives. Plus, we’ll show you how to make a clever pumpkin centerpiece.
add to my favorites10/21/14, by Megan Steenson
Autumn weather has arrived and it’s time to dress-up your doorstep with pumpkins and jack-o-lanterns. Here are our favorite tools for carving success!
add to my favorites10/17/14, by Becky Cunningham
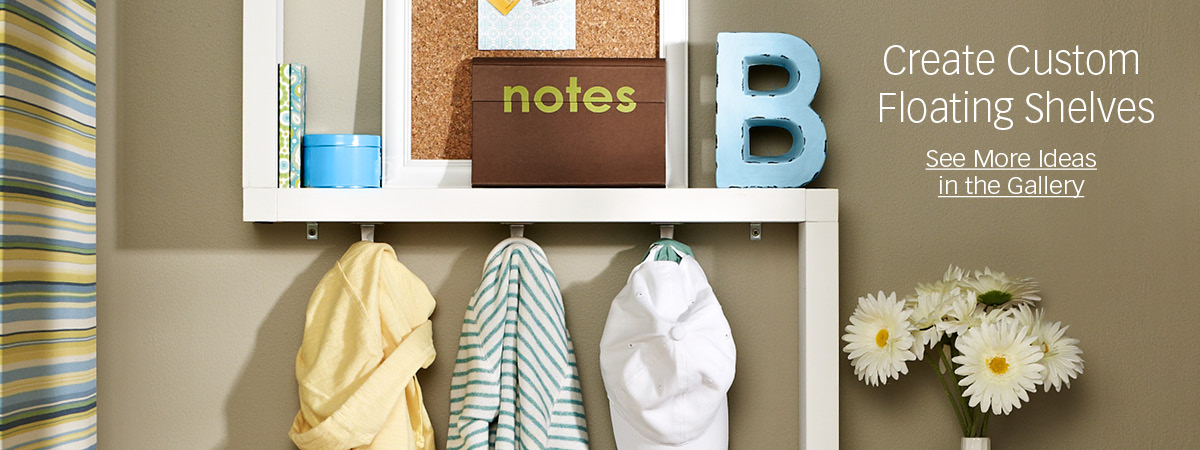
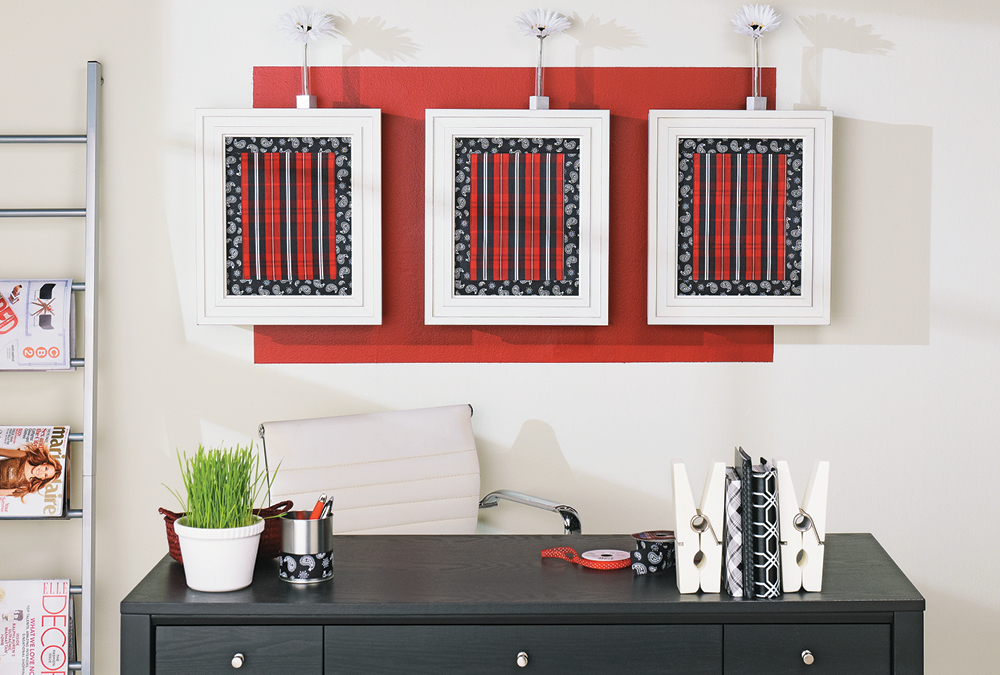
A store-bought picture frame containing a dressed-up cork panel makes the perfect “door” for an office supply cabinet. Choose any shape and style of frame you like!
add to my favorites10/15/14, by Megan Steenson
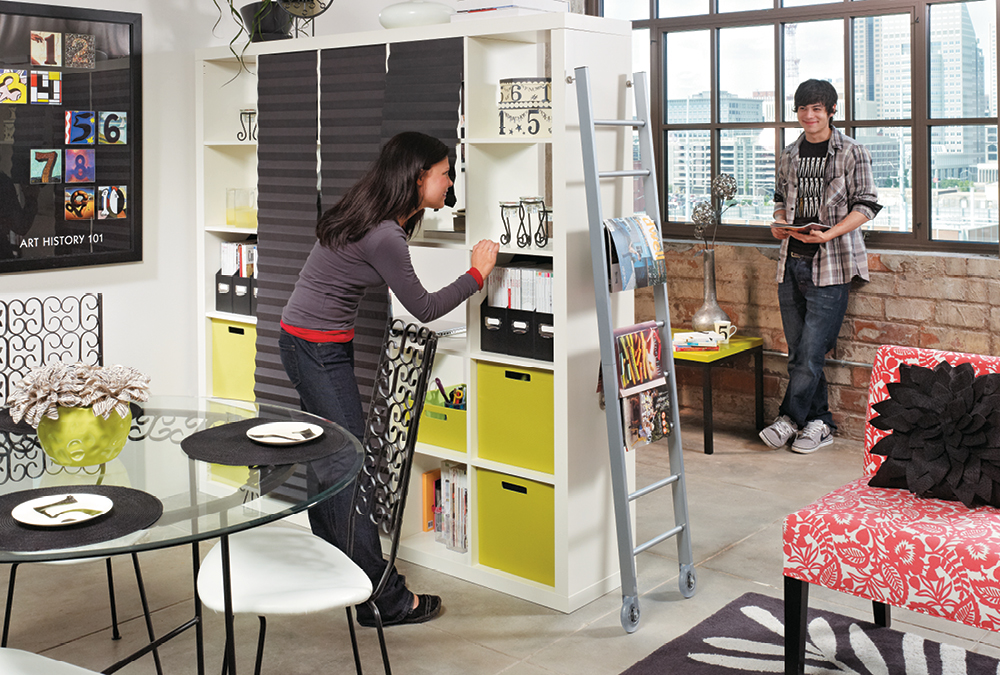
Create a simple and stylish room divider with an inexpensive bookcase and temporary window shades. The steps are easy to follow and come with great results!
add to my favorites